Tuesday, May 29, 2012


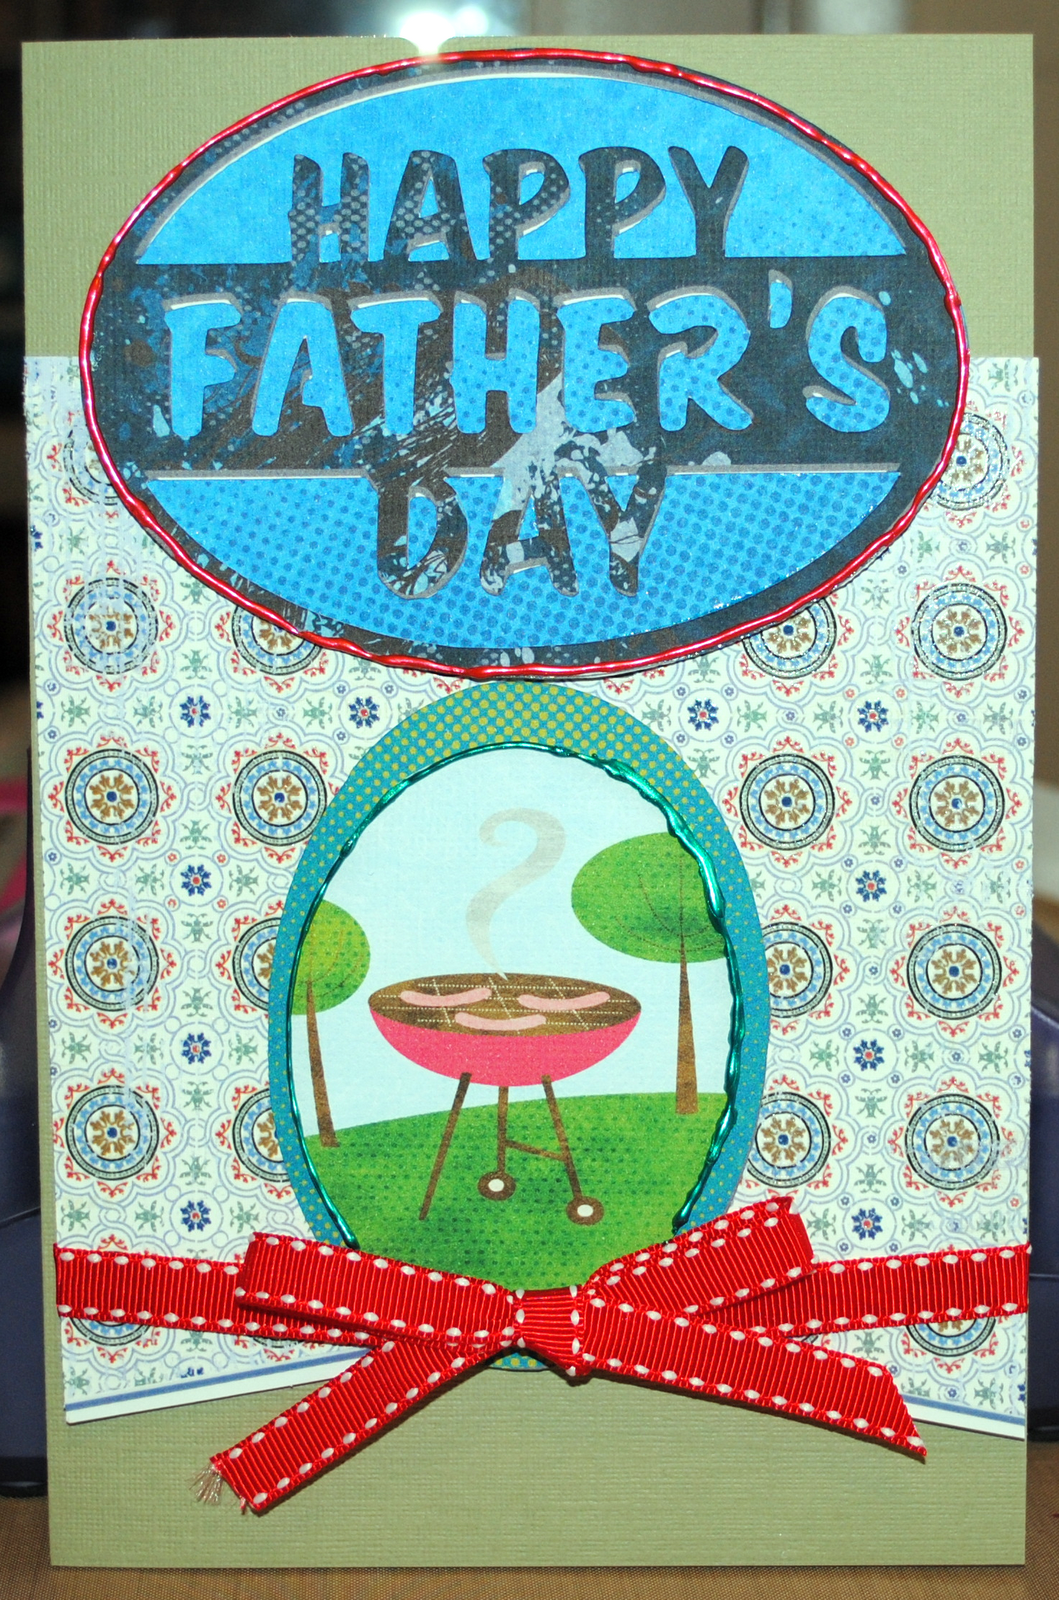
Welcome to another card creating tuesday with My Cricut Craft room. Today it is all about carnations. So below is a picture of my project then I will tell you how I did it!


The cartridges I used on this project were Walk in my Garden and Paper Lace 2. The watering can was cut at 3 inches and I did use the layering feature on it. The cut is from Walk in my Garden and it is on page 104 in your booklet. The stems were cut at 3 inches so that I could insert them into the watering can. I cut them at the standard cut then again using the shadow feature. You will find them on page 103 in your booklet. I am sorry to say that I did not write down which cartridge the butterfly was from but any butterfly cut would work. I used Graffix clear craft plastic and you will have to use the multi cut feature set on 3 times. Now for the carnations. I used Paper lace 2 and the cut is on page 31 of your booklet. If you don't have that cartridge you can use any scalloped circle cut. I cut the scallops at 2 inches and each flower took 9 layers. After you do your cuts you will need to poke a hole in the center of each of them for your brad. Spray each layer with water to make them pliable and carefully place each layer onto your brad. Then gather each layer upward carefully and gather them up over your brad allow them to sit for about an hour to get that crinkled look. Then you carefully using the tool of your choice separate and pull down the layers until you get the look you want. Then allow to dry. The paper will get really stiff when dry. I used colored paper on 2 of the carnations and white paper for the purple one and sprayed it with Maya mist. I sprayed it after I had it shaped the way I wanted. Be sure to check out all of the great projects from my very talented design team sisters!! Here is the link to take you back :)
http://mycricutcraftroom.blogspot.com/ Also for great buys on fabulous products including the ribbon and perfect pearls that I used on this project check out Erica's Store

Have a great craft filled week and Thank-you for stopping in :) I  love to hear your thoughts on my projects so please leave a comment!!
Shelley

Tuesday, May 22, 2012


Welcome to Card Creating Tuesday with My Cricut Craft Room!
I had so much fun with this card. This week is all about Daisy's and to me they are Happy Flowers so of course I had to use a Peachy Keen Stamp on the flower centers.  I cut all the pieces for this card from The Walk in my Garden Cartridge. You will find the daisy on page 82 of your booklet. I cut them at 3 inches and layered 2 of them together to give the flowers a fullness. The flower center is on the same page and I cut it at 1.50 inches The stems were cut at 3 inches and were cut a 2nd time using the shadow feature. The flower pot is on page 91 and was cut at 3 inches and then cut again using the shadow feature. I then did a 3rd cut for the top of the pot to make the solid pink band. The cute little Lady bugs are on page 118 and I cut it at 1.50 inches and did it in 2 layers the base layer in black then the red layer. When I put the card together I used a action wobble on the center flower so that every time it is moved the  little bloom wobbles happily! I hope you enjoyed my card and please leave a comment! I love to hear from all of you! Be sure to go back to My Cricut Craft Room to see all of the great cards from my talented design team sisters!


Have a great craft filled day!
Shelley

Saturday, May 19, 2012

My Daughter and Son in law


This is a way over due layout of my daughter and her Marine hubby. This was taken at the Marine Ball in 2011. I am ashamed to say I scrapbook my grand daughters pictures often but forget the parents!! The paper used is 

Kaiser Craft Chanteuse Rhondo Foiled Paper and here is the link to Anne's store Paper Patch Crafts where you can purchase not only the beautiful paper but all of the flowers used also!! Here is the promised link

Paper Patch Crafts Store I used the Cricut Limeade cartridge to do the lettering and cut it at 1.50 inches in standard and shadow so I could layer the lettering to give it some dimension . I was pleased with the way the layout turned out!
Hope you enjoyed seeing the layout and I hope you have a fun and crafty weekend.
Shelley

Tuesday, May 15, 2012

Welcome to Card Creating Tuesday with My Cricut Craft Room!!
This week it is all about Sunflowers. So here is my card.

I started with a brown card stock base then used a dark berry card stock and used my cuttle bug to emboss it.  Because sunflowers to me mean the fall and holiday kick off I used a pretty burlap ribbon that has just a little shimmer to it. For the flower I used the cartridge Flower Shoppe which right now is 20.00 in Erica's Craft Rooms Store. O.k The Sunflower is on page 17 in your booklet I cut sunflower 2 at 4 inches and did that twice. Then I cut it again at 2 inches. I put the layers together with Glubers and score tape. Here is the link to those Glubers and score tape Both are amazing products to use when making flowers. I also used individual petals Sunflower3. The center is sunflower cut 1 in the booklet. The leaf is from Floral embellished. After cutting all of the pieces I used Tim Holtz Vintage Photo ink pad to ink the edges of the petals and I did go a little heavier on the ink for the center. I then used Glubers to put all of the layers together. Then I used score tape to place individual petals where I felt that the flower needed it. I did not use cut 4 at all. It just didn't look like it belonged on any sunflowers that I have grown or seen! The great thing with this cartridge is that you can customize your flower to your liking. I used a gold Prima center in the middle for a little touch of bling. I love using large blooms and a beautiful ribbon on a card. It is simple and looks amazing! I hope you liked my card and please leave me feedback :) I love to see what people have to say. Be sure to go back to My Cricut Craft rooms Blog to see all the amazing projects that my design team sisters have made for you!!
I hope you all have an amazing craft filled day :)
Shelley

Monday, May 7, 2012

Card Creating Tuesday with My Cricut Craftroom


Welcome to Card Creating Tuesday With My Cricut Craft room!!
This week it is all about roses. Here is a picture of my card then I will tell you all about it :)


I made the roses with my Cricut Flower Shoppe Cartridge. The Roses are on page 14 in your flower shoppe booklet. I started with heart2 as my base. I cut the larger roses at 2 inches. I cut the base 3 times and used Glubers to adhere them together. I then cut individual petal and inserted them between the base layers with score tape. The pink one I spritzed with water and crinkled the petal up and allowed them to dry. I then pulled the petals apart carefully until I had the look I wanted. Then I stuck a bling brad in the center. I them gave the petals a coat of Glossy accents to give it just a little more stiffness and a light shine. The Lavender Rose was done exactly the same way accept I started with white card stock and spritzed it with Purple Metallic Maya Mist then followed all the same steps. The smaller roses were cut at 1 inch and were done the same way. The Hello word bubble was an item I just had in my supplies. The butterflies are a prima product and so are the leaves. I love my flower shoppe cartridge and if you love flowers on your projects as much as I do I would pop over to Erica's store and grab up that cartridge!! Here is the link to her store:
Erica's Craft Rooms Store
Be sure to go back to My Cricut Craft Room to see more Rose cards. My Design Team Sisters are very talented and you will want to see all of there amazing cards!!!
Thank-you for stopping by and please leave a comment! I love to here from you :)

Have a great crafty day!!
Shelley

Saturday, May 5, 2012

My Cricut Craft Rooms 100 Cartridge Blog Hop

Hi everyone and welcome to My Cricut Craft Rooms 100 cartridge blog hop. You should have come from
 http://mycricutcraftroom.blogspot.com/ 
If not please go back and start there. For my Layout I used 
Cricut Cartridges Flower Shoppe and Ribbons and Rosettes. Here is the picture of my Layout:
I started with a base card stock that has soft butterflies on it Then for the center I used Coredinations Black Magic That was a lavender color on the other side and tore it on all sides to use as the platform for my pictures. I then used the ribbons and rossettes cartridge to cut my scalloped borders down each side out of the left over pieces of Black Magic then embossed them with a swiss dot cuttle bug folder. I then lightly sanded the tops of the dots to get the dots to turn lavender to tie it all together. I used flower shoppe to do all the flowers. I used mini carnations that I made for the centers. I used Glubers on the flowers to add layers and those can be found in Erica's Craft Room Store here is the link to the glubers  Glubers and other Adhesives
I had never seen or heard of them before until Erica did a ustream on them and I love them!!! She has several helpful ustreams so do check them out! When making the flowers I went a 1/2 size smaller on each layer and on some I used individual petals with in the layers I attached those with score tape which is another great item to use when making flowers. Erica sells it also and it is under the link I provided. The butterflies are from the Florals embellished cartridge I cut them then embossed them I then added Liquid Pearls to give them a little more detail. Liquid Pearls are also available for purchase in Erica's store and here is the link to those:
Liquid Pearls. The Remember this Moment tag is by My Minds Eye. The pastel butterfly card stock is from the Kaiser Craft Tiger Lily collection. I hope you enjoyed your visit to my blog and here is the next blog to hop to
Claire - http://www.threewaterscreations.com/ 
Here is the complete line up in case you have lost your way!

Host- http://mycricutcraftroom.blogspot.com/ 
Shelley - http://shelley-scrapbookingforfun.blogspot.com/
Claire - http://www.threewaterscreations.com/ 
Candice - http://stampinpearls.blogspot.com/
Ashley - http://especiallymade.blogspot.com/
Amber - http://pixiperfectcreations.blogspot.com/
Tiffany - http://angel4ever-thecraftyteacher.blogspot.com/
Kathy Jo - http://skrappindiva.blogspot.com/ 
Sheila - http://2pawprints.blogspot.com/
Erica- http://ericasprojects.blogspot.com/
Yvette http://gammascreativecorner.blogspot.com/ 
Christina - http://cema1cema.blogspot.com/
Raquel - http://kraftykaboose.blogspot.com/
Heather M - http://digipage-blog.everything-digital-scrapbooking.com/
Sharon - http://simplysweetbysharon.blogspot.com/
Deirdre - http://glitteredroses.blogspot.com/
Lisa Chamberlain - http://lisacustomscrapbooking.blogspot.com/
Ava - http://scrapbookdesign4u.blogspot.com/
Blog Candy http://ericasblogcandy.blogspot.com/

Be sure to check out Erica's store! She carries a huge selection of products at great prices and she is always having great sales as well as challenges!!! Here is the store link
Erica's Craftroom Store.

Tuesday, May 1, 2012

My Cricut Craft Room Card Creating Tuesday


Welcome to My Cricut Craft Rooms Card Creating Tuesday!
We had to do a fathers day card for this week.  This is for my father in law who always seems to grill something on Father's day. On this card I used Cricut Fathers Day Cartridge and the Cricut Imagine Industrial Glow as well as the Good Old Days Cartridge. I cut the Fathers Day Oval in 2 layers at 2 inches I used my imagine machine so I was able to flood the white card stock with color from Industrial glow. I used 1 print on the lettering and another print on the oval base I did cut another oval to place my grill cut on. The Grill cut is from The good Old days cartridge.I then outlined the ovals with Liquid Pearls and finished the card with a bright red bow.
You can find liquid pearls and Cricut Cartridges as well as 1000's of other products in Erica's store and here is that link:
She runs sales on a pretty regular basis. She also does challenges every month with fantastic prizes and here is the link to the challenge: Erica's Craft Room Challenges
Well I hope you enjoyed my card .  To see all the other great cards that my wonderful Design Team Sisters have made please go back to  My Cricut Craft Room 
Have a wonderful creative week!
Shelley

I am back :) Here are a few cards that I recently made

After a very long break from blogger due to my blog being a mess when my blog designer quit hosting the blog design. I am back  With a be...